![]()
If you have a slow old laptop (Dell, Apple, IBM, Asus, MSI, HP, etc), a great way to reinvigorate it is to install Chromium OS and make it into a makeshift Chromebook!
Chromebooks are very basic machines that really only run the Chrome browser from Google. They are free from viruses and are super quick even with low end specs!
[This guide has only been tested with a Dell Vostro 1510, iMac 2007 and an AMD based HP laptop]
Step 1: Downloading and preparing the software on a USB stick
The build that I am using in this guide is by ArnoldTheBat and can be downloaded here. I have picked the 32 bit build because I’m using a very old laptop. Once downloaded follow these four points:
- Use 7zip to extract IMG file from the downloaded file
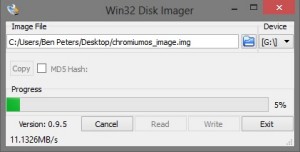
- Download and install Win32 Image Writer, (Download link) then select the IMG file and select the USB device from the menu. (If it errors, try right clicking the icon and “Run as Administrator”
- Click on “Write”
Step 2: Booting from the USB Device
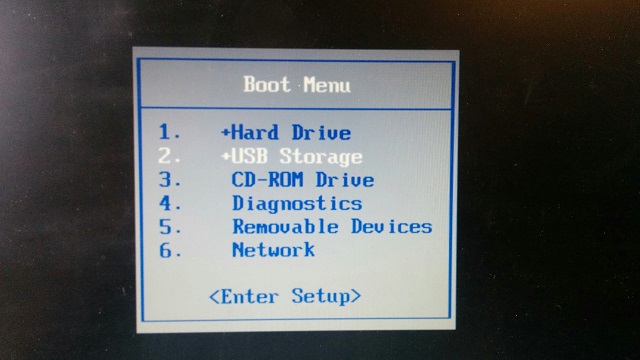
Once the process has finished, insert the USB Storage device, startup your computer/laptop that you want to install Chromium onto and hit F12 (or whatever your manufacturer set as the Boot Options button) and select the USB Storage device from the menu. (Apple computers will automatically boot from the inserted USB device).
Expect to see some odd writing come up as it let’s you know what it’s doing


Then if all is well you will get a Network select screen. Go ahead and choose your keyboard type and wireless network to connect to.
Step 3: Signing into Chromium
For this part you will need a Google Account. If you do not have one already go here and create one. It’s free 🙂
Use this account to log into your “Chromebook”. This will sync with your Google account so if you already have one, your bookmarks and Drive contents will be instantly accessible.
If everything has gone to plan you should be greeted with a screen that looks like this:
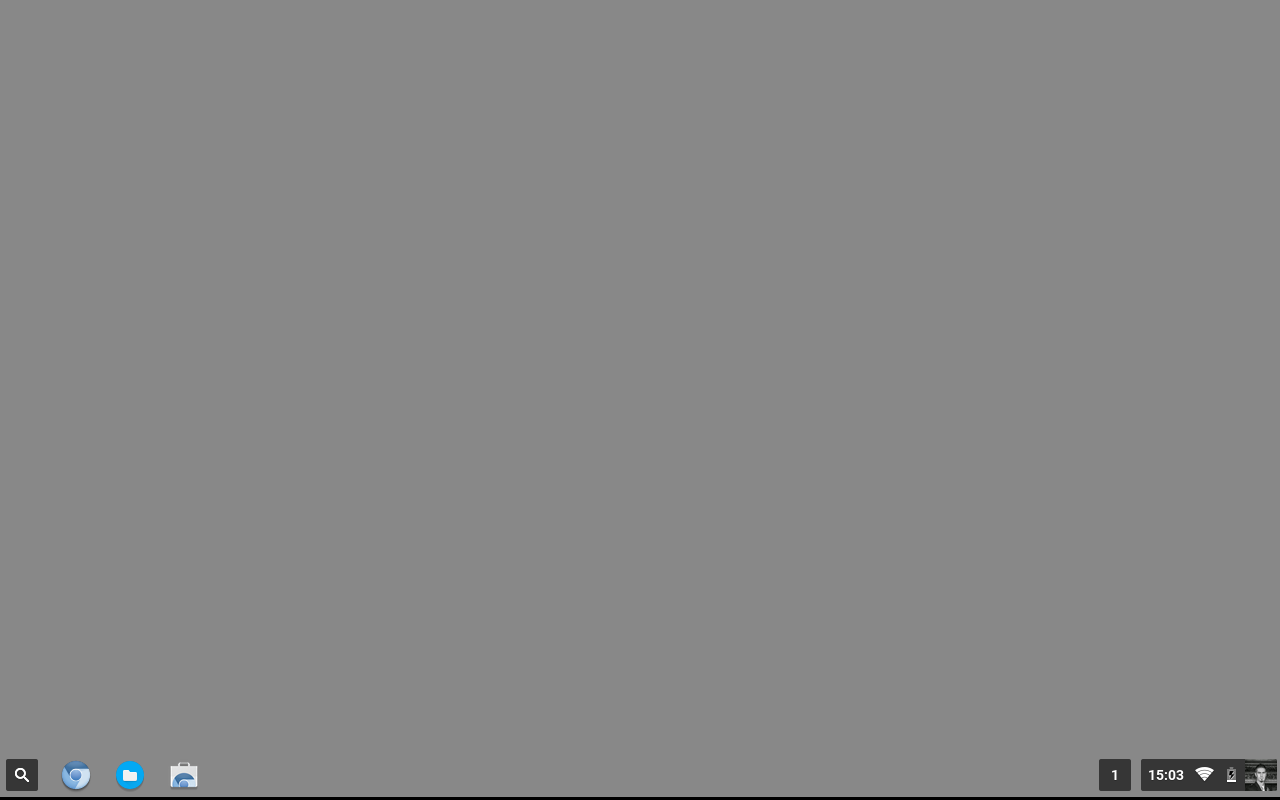
Pretty boring right? This means that Chromium has now started up… but wait, we are still running off the USB stick. Want to actually install it onto your computer? Read on…..
Step 4: Installing Chromium
WARNING: This will completely wipe your computer’s drive. You will NOT be able to boot back into Windows/OSX after this without re installing. I take no responsibility for any lost documents etc. YOU HAVE BEEN WARNED!
With that out of the way…. open Chrome and hit: CTRL + ALT + T
A new tab should appear in Chrome that says “Welcome to crosh,”. In this window we simply want to type: install /dev/sda
It will ask you for a password. If you are using the same file that I linked earlier to install, the password will simply be: password
It will then ask you if you are sure… it WILL erase everything on the drive. Type in y
Lots of writing (a lot of errors) will then scroll up the screen while it is installing. Go make yourself a cup of tea or something as it will take a few minutes to install.
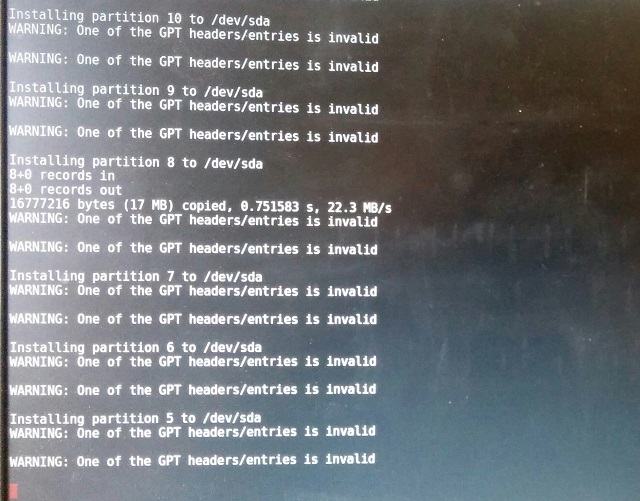
On the Dell laptop that I am using to do this guide it took around 5 min.
After it has finished it will tell you to “Please shutdown, remove the USB device, cross your fingers and reboot.” Follow those instructions 🙂
To access the shutdown button, click on the time in the bottom right corner of the screen.
When you start up next time, you will need to re input your google account settings and keyboard settings just like you did the first time you started up.
CONGRATULATIONS! You now have a “Chromebook” (kinda).
For instructions on how to install Flash click here.
If this has helped you in any way please let me know. Tweet @_BenjaminPeters or buy me a beer!